Configure the Custom App File
Now we will set up TinaCMS to work with the GitHub App. First, create a new file in the pages directory called _app.tsx. This is a special file in Next.js that allows us to configure a custom app. Our custom _app.tsx will do a few things:
- Create the TinaCMS instance
- Register the GithubClient: The client allows us to authenticate with GitHub. All requests using the
GithubClientgets passed through a proxy on our site. This allows us to securely attach the authentication tokens on the backend. - Register the GithubMediaStore: The media store allows us to upload and manage media through the media manager and image fields.
- Configure the Editing UI to be 'hidden' unless we're in Preview/Edit mode.
- Wrap the Page with
TinacmsGithubProvider: This component is given config and callbacks that hit our/apiserver functions to enable Preview/Edit Mode after authentication is complete. - Add a button for entering Preview/Edit Mode: We must provide a means of triggering authentication to enter/exit edit mode. This a simple example of how to do so.
Tip: Another media store worth looking into is the
NextGithubMediaStore. It is an extension ofGithubMediaStore, with adjustments to the methods to account for how Next.js handles media files.
pages/_app.tsx
import App from 'next/app'
import { TinaCMS, TinaProvider } from 'tinacms'
import {
  GithubClient,
  TinacmsGithubProvider,
  GithubMediaStore,
} from 'react-tinacms-github'

export default class Site extends App {
  cms: TinaCMS

  constructor(props) {
    super(props)

    const github = new GithubClient({
      proxy: '/api/proxy-github',
      authCallbackRoute: '/api/create-github-access-token',
      clientId: process.env.GITHUB_CLIENT_ID,
      baseRepoFullName: process.env.REPO_FULL_NAME, // e.g: tinacms/tinacms.org,
      baseBranch: process.env.BASE_BRANCH, // e.g. 'master' or 'main' on newer repos
    })

    /**
     * 1. Create the TinaCMS instance
     */
    this.cms = new TinaCMS({
      enabled: !!props.pageProps.preview,
      apis: {
        /**
         * 2. Register the GithubClient
         */
        github,
      },
      /**
       * 3. Register the Media Store
       */
      media: new GithubMediaStore(github),
      /**
       * 4. Use the Sidebar and Toolbar
       */
      sidebar: props.pageProps.preview,
      toolbar: props.pageProps.preview,
    })
  }

  render() {
    const { Component, pageProps } = this.props
    return (
      /**
       * 5. Wrap the page Component with the Tina and Github providers
       */
      <TinaProvider cms={this.cms}>
        <TinacmsGithubProvider
          onLogin={onLogin}
          onLogout={onLogout}
          error={pageProps.error}
        >
          {/**
           * 6. Add a button for entering Preview/Edit Mode
           */}
          <EditLink cms={this.cms} />
          <Component {...pageProps} />
        </TinacmsGithubProvider>
      </TinaProvider>
    )
  }
}

const onLogin = async () => {
  const token = localStorage.getItem('tinacms-github-token') || null
  const headers = new Headers()

  if (token) {
    headers.append('Authorization', 'Bearer ' + token)
  }

  const resp = await fetch(`/api/preview`, { headers: headers })
  const data = await resp.json()

  if (resp.status == 200) window.location.href = window.location.pathname
  else throw new Error(data.message)
}

const onLogout = () => {
  return fetch(`/api/reset-preview`).then(() => {
    window.location.reload()
  })
}

export interface EditLinkProps {
  cms: TinaCMS
}

export const EditLink = ({ cms }: EditLinkProps) => {
  return (
    <button onClick={() => cms.toggle()}>
      {cms.enabled ? 'Exit Edit Mode' : 'Edit This Site'}
    </button>
  )
}Note: For brevity, the example above configures many steps in a single file, but a few components can be configured in different places. For example you could put the
EditLinkin a Layout component, or set up the Github Provider only on certain pages.
If you restart the dev server, you should see a button in the top left-hand corner that says, "Edit This Site". If you click it, you should be prompted to authenticate with GitHub.
If auth is successful, you should see a refresh and then it will look the same as before, just like this:
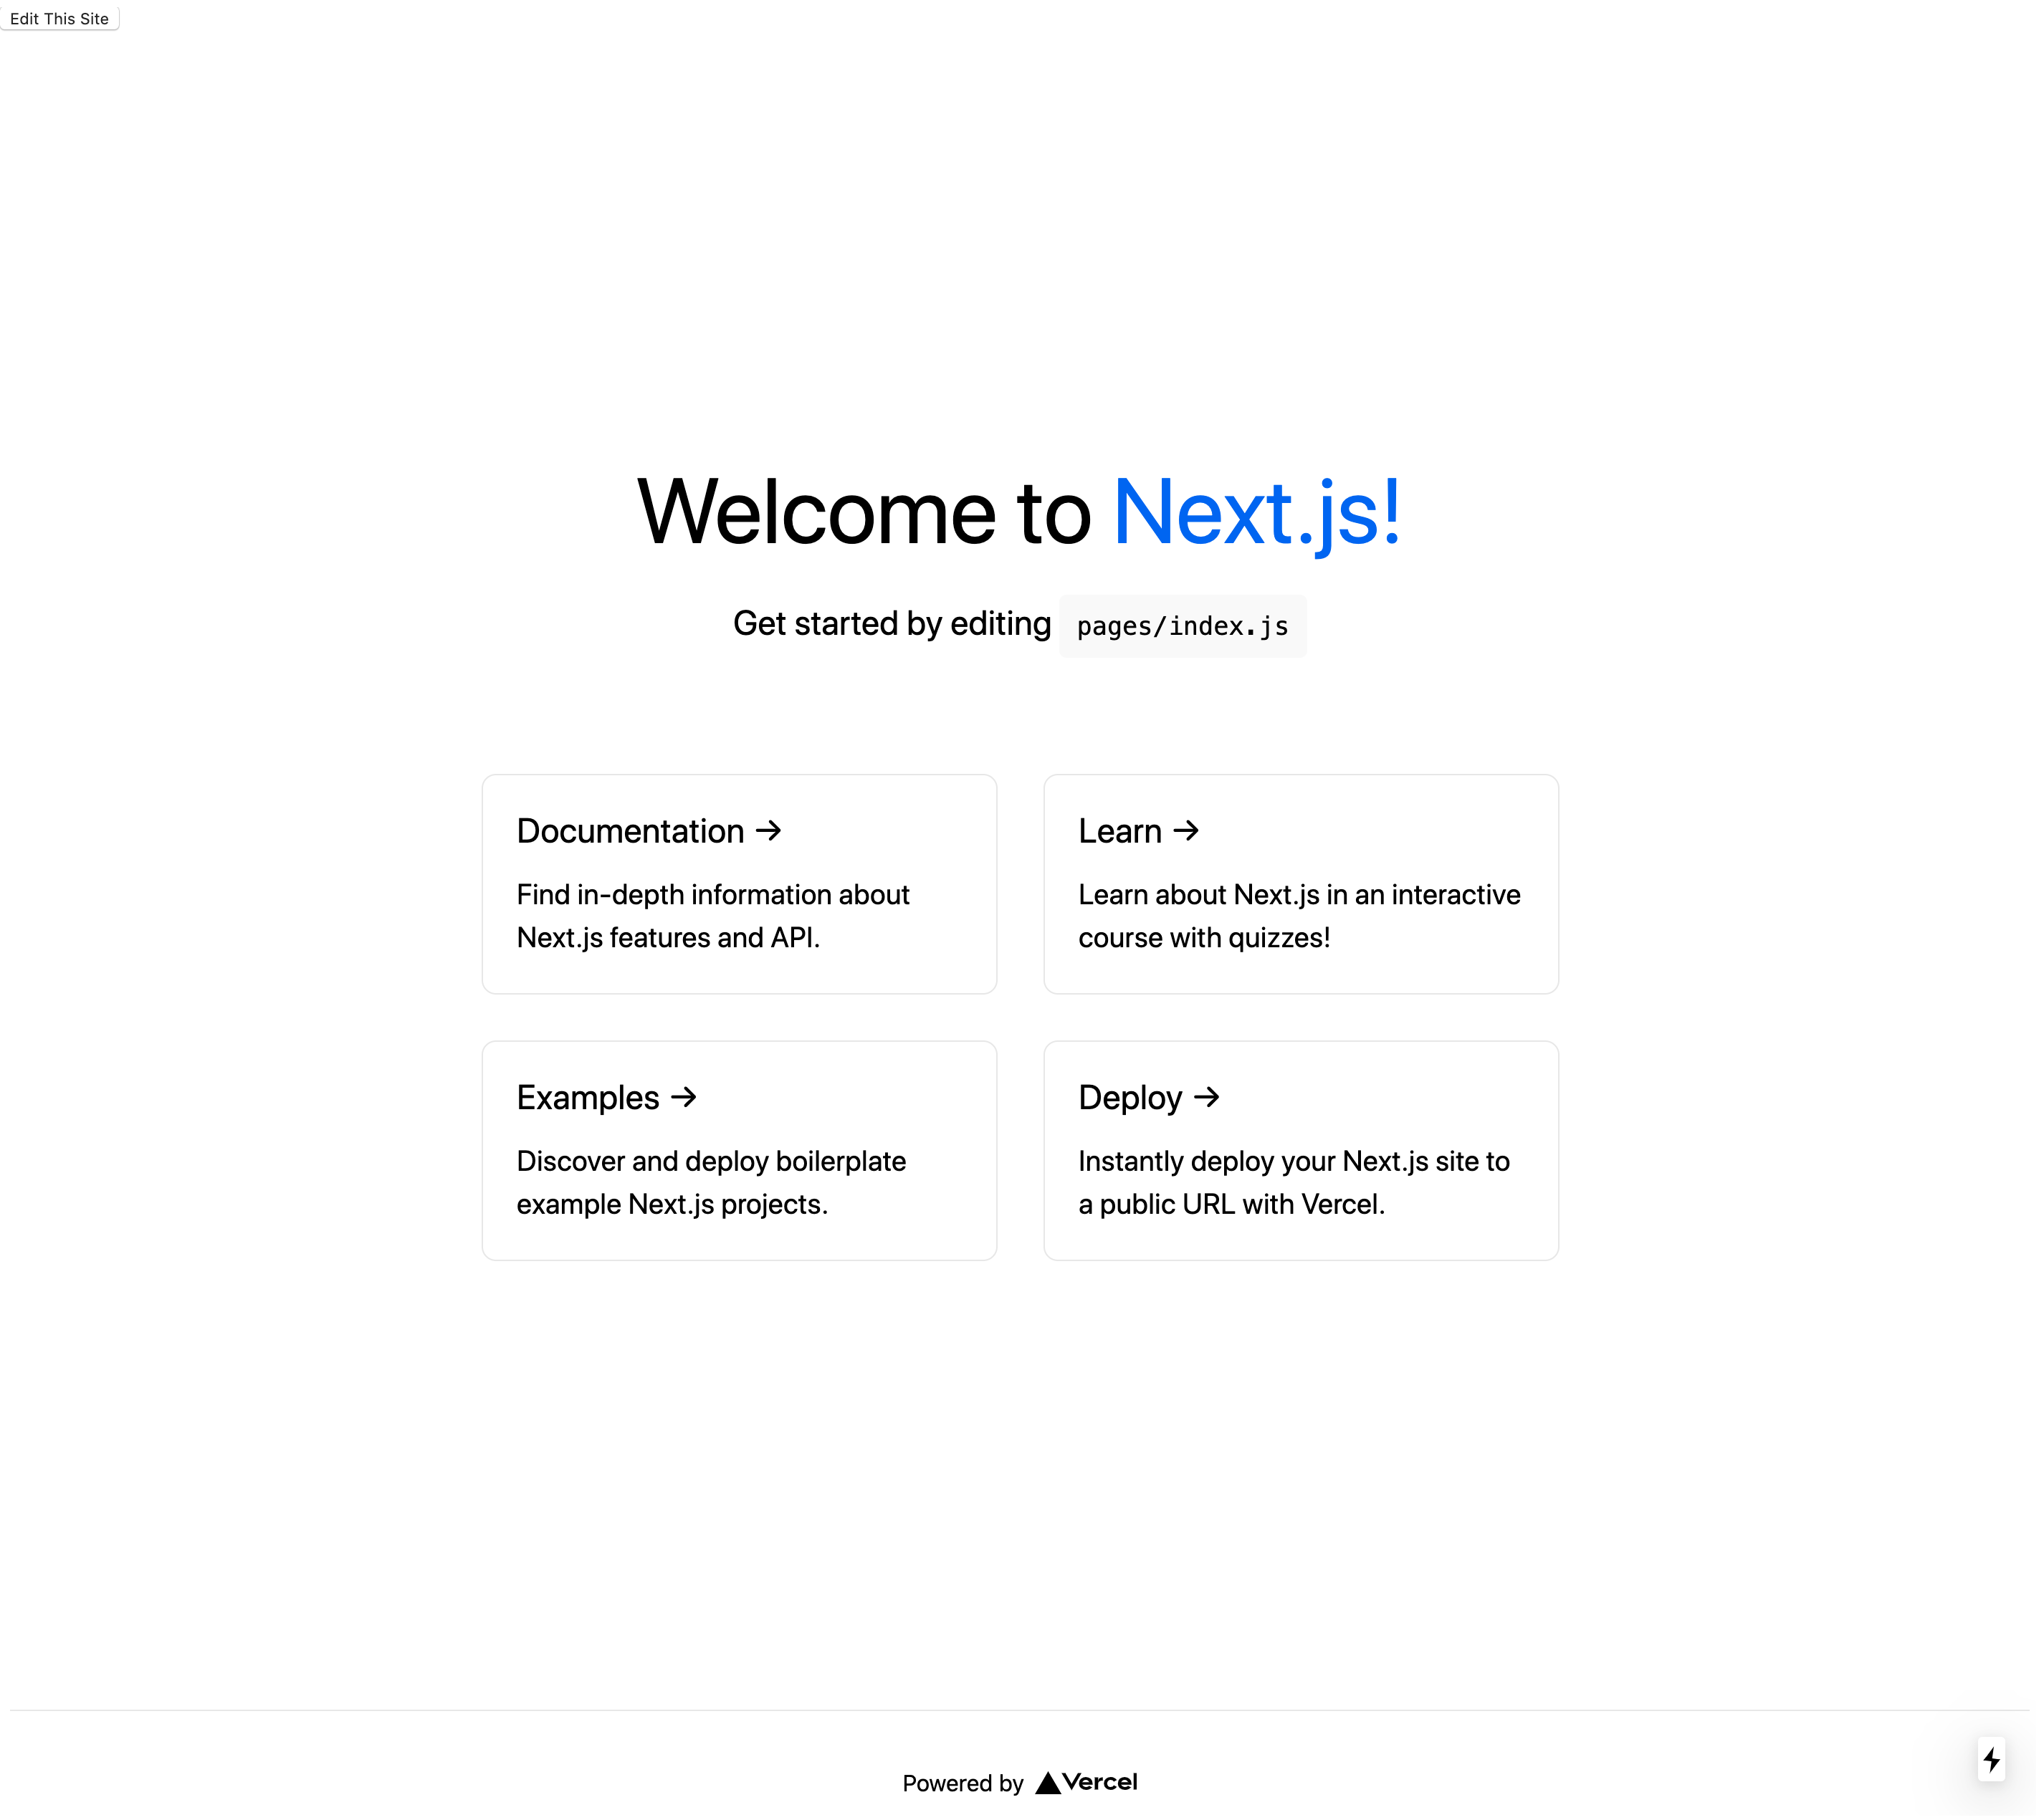
It might look like nothing happened, but if all went well, a few cookies will have been created.
Check for Cookies
To make sure it did work, check your cookies. You should now see these four cookies: __next_preview_data, __prerender_bypass, working_repo_full_name, and csrf_token.
Those first two, __next_preview_data and __prerender_bypass, are for using preview mode.
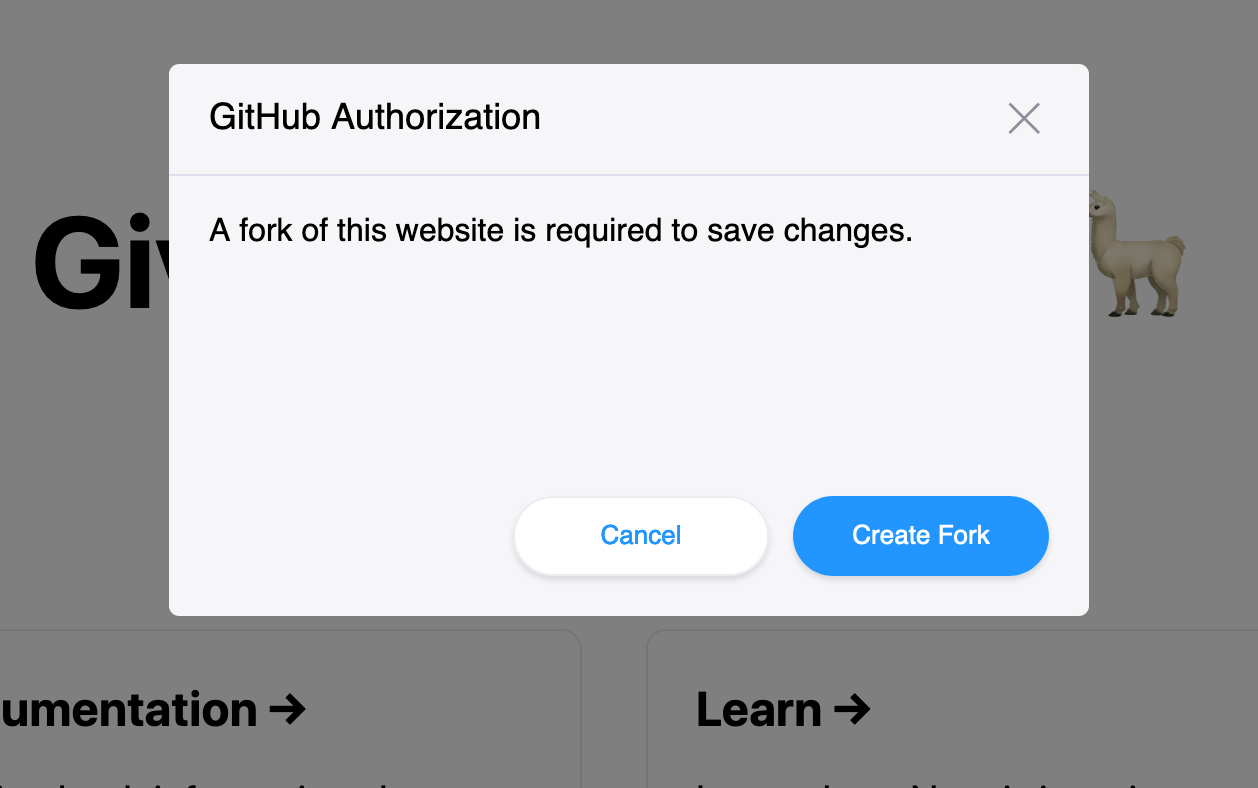
The working_repo_full_name points to the repository you'll be editing (i.e. the Working Repo). In this case, it should point to your repo, the original repo, because you have access to it, which we also call the Base Repo. Therefore your edits will go to the master branch.
If you didn't have access, then you would be requested to create a fork of the Base Repo as seen in the image below. The newly created fork would then be your Working Repo. You would commit edits on that fork and create a PR for review.
The final cookie, csrf_token, proves that the authentication worked, since you now have a CSRF token that works with the access token for the Github APIs.
Private Repositories
If you prefer to keep the repository private, and not implement Open Authoring, you need to add an additional parameter to the GithubClient configuration object.
github: new GithubClient({
  proxy: '/api/proxy-github',
  authCallbackRoute: '/api/create-github-access-token',
  clientId: process.env.GITHUB_CLIENT_ID,
  baseRepoFullName: process.env.REPO_FULL_NAME, // e.g: tinacms/tinacms.org,
+ authScope: 'repo' // normally defaults to 'public_repo'
}),
Next we'll need to configure Previews on the index page to enter the editing environment on our Working Repository.
Last Edited: October 28, 2020