Initial Setup
This guide will help you set up a Github backend with Tina using create-next-app.
The Preview Mode offered by Next.js allows us to load a separate set of data depending on the "edit" (or "preview") mode. With the help of the GitHub API, editors can fork or branch off the repository, make changes, and create a pull request from the Tina UI.
This type of backend can support Open Authoring workflows for public repositories, where anyone (with a GitHub account) can submit content changes for review. This guide will show you how to implement open authoring, but you can also set up the GitHub backend for a private repository.
Feel free to reference this demo repository. The commits roughly correlate with specific steps outlined in this guide.
Using create-next-app
Let's set up a fresh install of create-next-app and create a new repository in GitHub. It is important this repository is public, otherwise the GitHub Helpers won't know how to find your content.
Open up your terminal. Navigate to where you'd like this project to live and run:
yarn create next-appName your project, then choose the 'Default Starter' from the terminal options. Go ahead and navigate into that project and start the development server.
cd your-project-name
yarn dev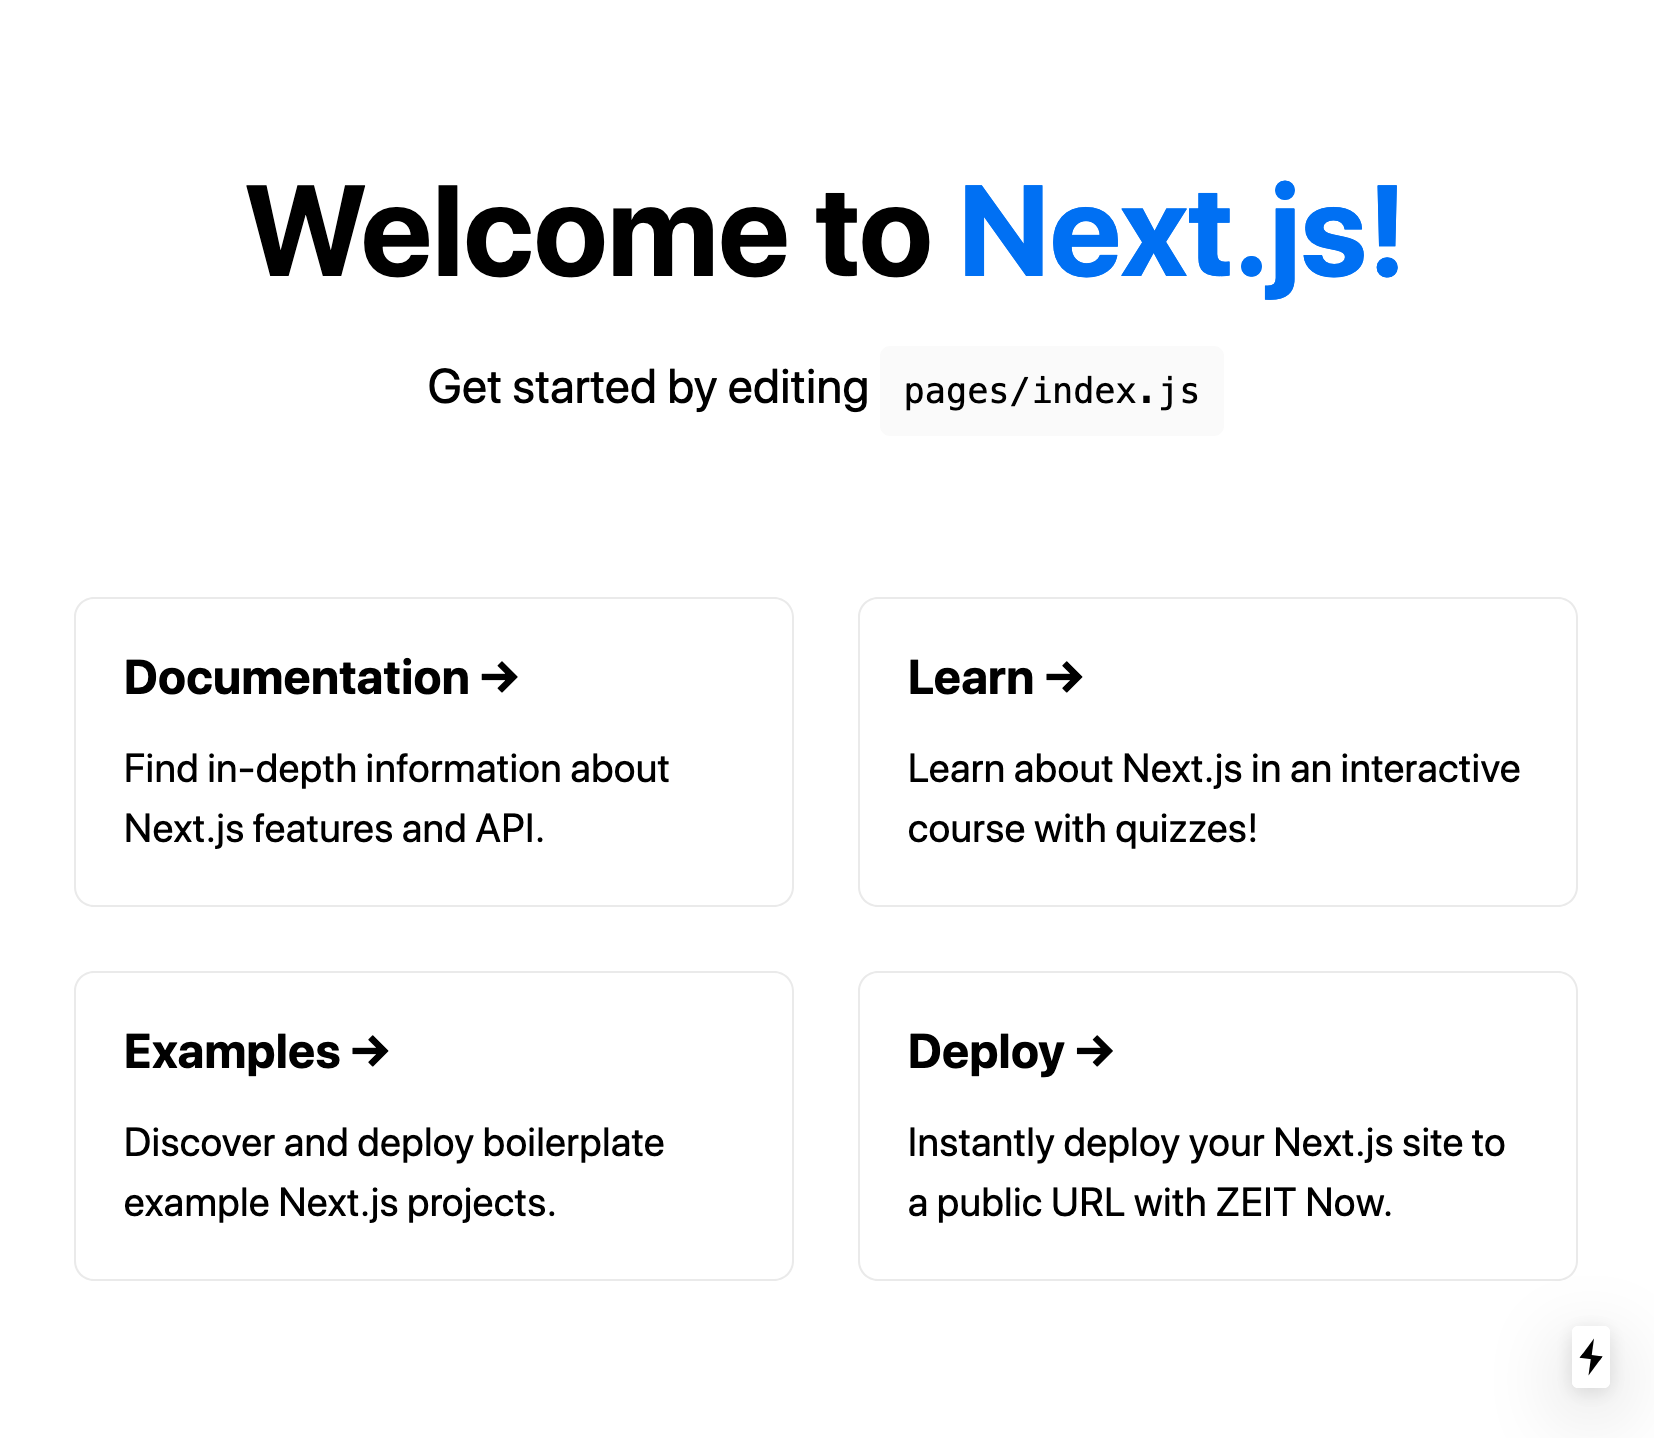
Navigate to http://localhost:3000/ and you should see something like the image above. Now you can commit and push this create-next-app to your new GitHub repository.
Note: This guide assumes you are following along with a fresh create-next-app. However, if you're configuring your own project, you will want to make sure your project conforms to the following requirements:
- Uses Next.js >= 9.3
- Is stored in a public GitHub repository
- Is hosted with Vercel or another platform that can handle Preview Mode (in other words, not a static host.)
With Typescript
The examples in this guide will use Typescript. To set up your create-next-app with Typescript, run this in the terminal:
yarn add --dev typescript @types/node @types/reactThe next time you start the development server, Next.js will automatically create a tsconfig.json file and populate it with default options. You may also want to change your pages/index.js to pages/index.tsx.
Install Tina-Github packages
Now that our create-next-app is set up, we can add a few Tina packages:
yarn add react-tinacms-github next-tinacms-github tinacms styled-componentsThe react-tinacms-github package provides helpers for setting up TinaCMS to use the GitHub API, with GitHub authentication. And the next-tinacms-github package provides helpers for managing the GitHub auth token and loading content from the GitHub API.