Set Up the CMS
In this step we will install tinacms, create a CMS instance, wrap our app in the TinaProvider, and configure the CMS options.
Install tinacms
Install the tinacms package. This is the main package that you will use to create your CMS. You'll also need to install styled-components to render the editing UI properly.
yarn add tinacms styled-componentsCreate a CMS instance, add TinaProvider
The first step to setting up Tina is to create an instance of TinaCMS. Once created, this CMS object allows us to manage Plugins, APIs, Media Stores, Events, Editing UI and other key aspects of content management.
Next, wrap your site in the TinaProvider. This provider sets up the editing UI, and provides a context from which we can access the CMS throughout the app.
Open up src/App.js and follow these steps:
The Steps
- Import
TinaProvider&TinaCMS - Create an instance of
TinaCMS - Wrap
TinaProvideraround the contents ofApp, pass thecms.
src/App.js
import React from 'react';
+import { TinaProvider, TinaCMS } from 'tinacms';
import logo from './Icon.svg';
import './App.css';

function App() {
+ const cms = new TinaCMS();
  return (
+   <TinaProvider cms={cms}>
      <div className="App">
        <PageContent />
      </div>
+   </TinaProvider>
  );
}

export default App;

//...
Note: After this step, the CMS will still not be accessible. We will enable the CMS in a few steps.
Configure the CMS object
When instantiating the CMS, you can pass options to configure how the CMS object works.
Update your CMS instance with the sidebar option:
src/App.js
function App() {
-  const cms = new TinaCMS();
+  const cms = new TinaCMS({
+    sidebar: true,
+  });
  return (
      //...
  )
}
Sidebar
The CMS options are a key part of constructing the CMS. The sidebar property controls the Sidebar UI — which renders forms, menus, and other UI that connect with content editing actions. It will not render unless the CMS is enabled.
Enabling the CMS
The CMS is disabled by default. We need to enable the CMS to edit content.
There are various approaches to enable the CMS. One way is to set the enabled option in the CMS configuration. Another is to use a toggle method to enable / disable the CMS.
Our demo contains an "Edit this Site" button, but you may have noticed that it doesn't do anything right now. Let's wire up this button to enable Tina using the CMS' toggle method.
We'll use the useCMS hook to get the CMS object from the TinaProvider. This hook can be useful throughout your App when needing to access or update the CMS. Once we can access the cms, we can toggle the enabled state.
The Steps
- Import the
useCMShook. - In the
EditButtoncomponent: toggle thecmsstate on click and render different button text depending on the enabled state.
src/App.js
import React from 'react';
-import { TinaProvider, TinaCMS } from 'tinacms';
+import { TinaProvider, TinaCMS, useCMS } from 'tinacms';
import logo from './Icon.svg';
import './App.css';

//...

function EditButton() {
+ const cms = useCMS();
  return (
-   <button onClick={() => window.alert("Tina isn't configured yet!")}>
-     Edit This Site
+   <button onClick={() => cms.toggle()}>
+    {cms.enabled ? 'Exit Edit Mode' : 'Edit This Site'}
    </button>
  );
}
Head back to http://localhost:3000, refresh the page and click the 'Edit This Site' button. You should see an 'Edit Icon' in the lower right-hand corner. Click on the icon to open the Sidebar.
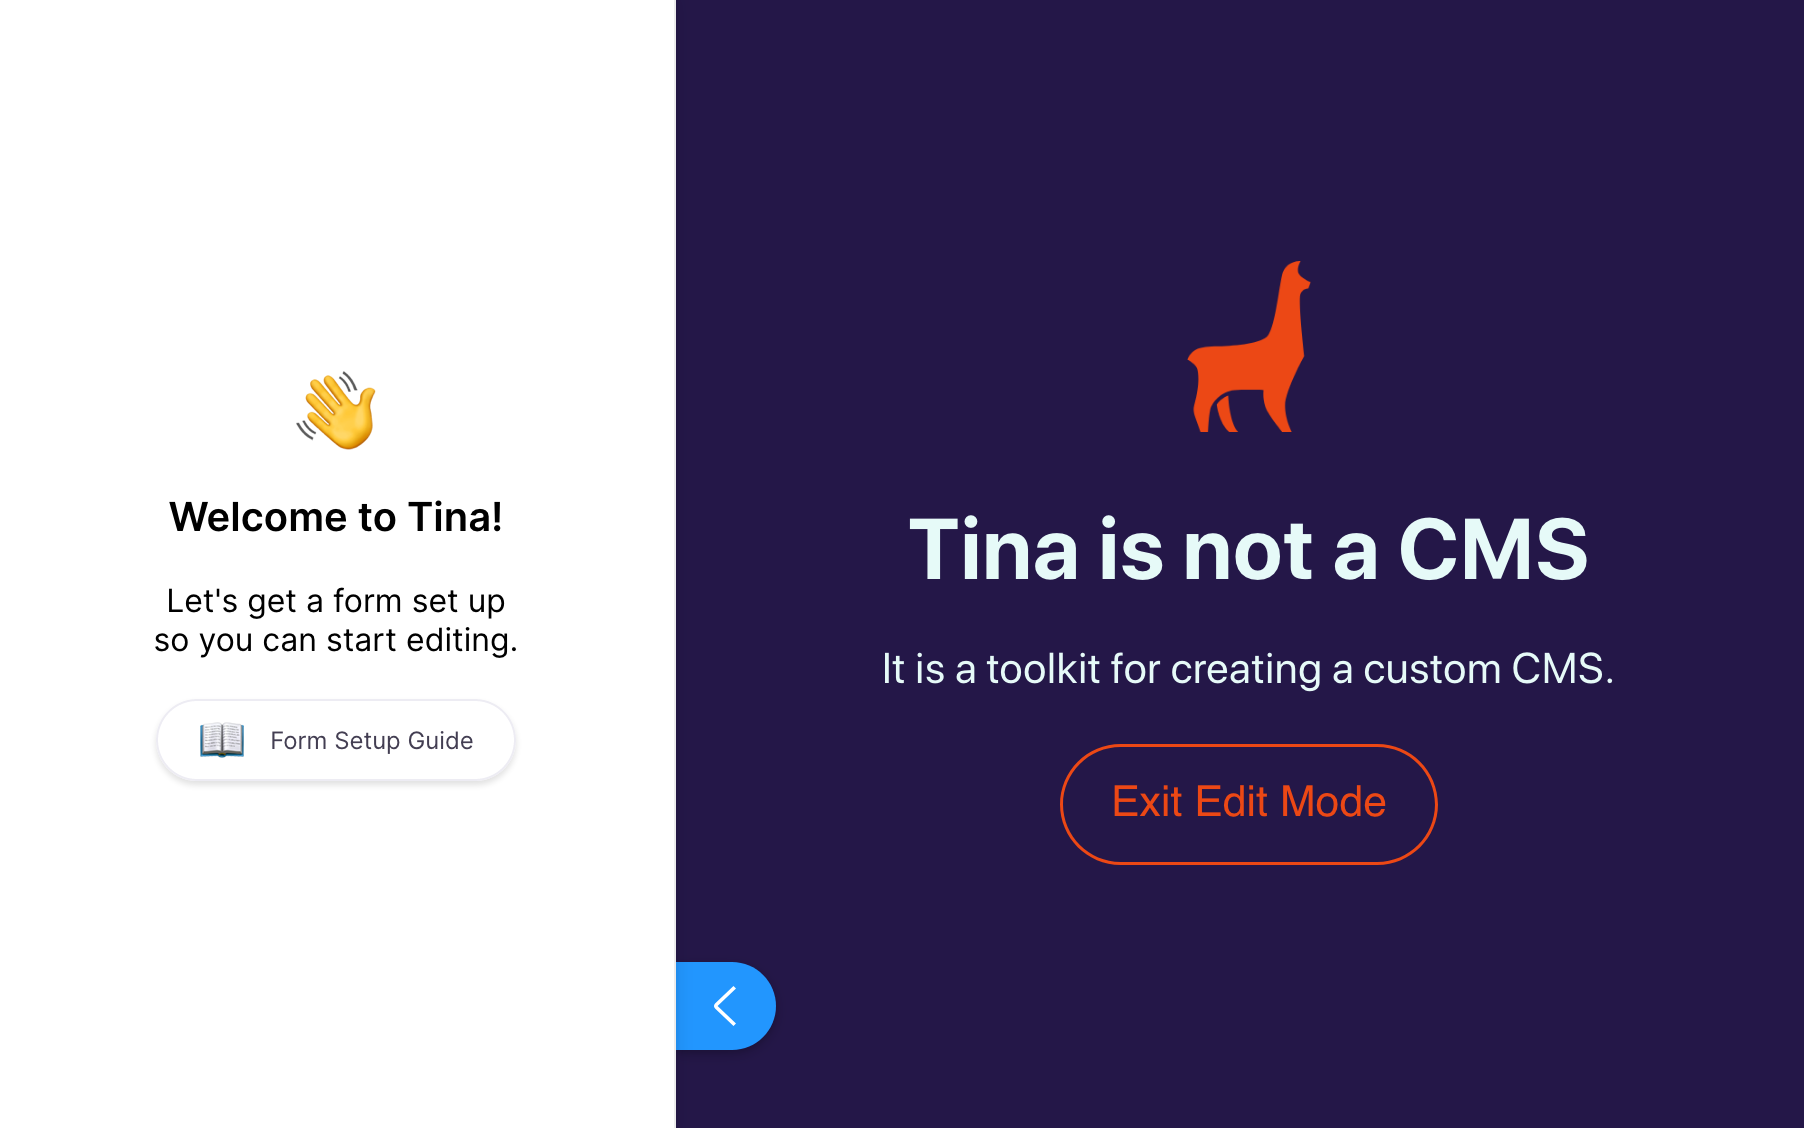
You'll notice that the sidebar is empty, that is because there are no forms registered to edit content — let's do that next.
Additional Reading
- Explore additional options for configuring the Sidebar UI.
- The example above uses
cms.toggleto switch between enabled/disabled states. Checkout all of the CMS methods available. - Another important editing UI is the Toolbar — it is useful with Inline Editing.